
So if you’re planning on celebrating this Saint Patrick’s Day on March 17th in traditional style, it will usually involve you and a gang of your friends plus one or two pints of Guinness. Alternatively you might be spending it at home with a traditional meal with the family? Or perhaps you simply want to take the opportunity to get the kids into the swing of things? However you plan on celebrating this year, a commemorative t-shirt is a fun way to add a little something special to the proceedings. Here we look at the different ways you can create your very own Saint Patrick’s Day t-shirts. Whatever your level of skill – or amount of time to spare – there’s no excuse for not getting involved this year!
- For beginners
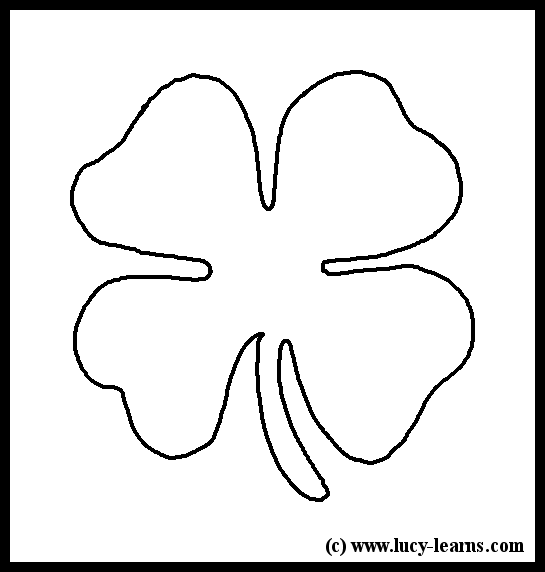
- Stencils
If you’re feeling a little more ambitious you could try using a stencilling technique. Either download a template or create your own using Adobe Photoshop, depending on how your creative skills stand. It’s a good idea to get yourself some acetate photo paper for printing, as this creates a strong base for your stencil, prevents buckling and makes it much easier to use. Depending on the complexity of your design, it might also be a good idea to use a craft knife to cut your stencil out. Simply use sticky tape to attach the stencil to your tee and apply the fabric paint using a roller. Don’t forget to put a sheet of thick card inside your t-shirt to prevent paint seepage. Leave to dry overnight – or speed up the process using your hairdryer. Once your handiwork is dry, carefully remove the stencil and iron through a sheet of baking paper to seal.
- Iron-on transfers
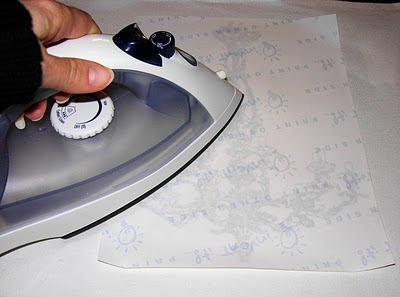
Iron-on transfers are really easy to get the hang of and provide professional results with the minimum of fuss. All you’ll need an ink jet compatible printer, an iron and a pre-bought set of transfers to get started. Once you’ve selected your artwork print a preview onto standard cartridge paper. If you’re happy with the results you can proceed to printing the design onto an HP iron-on transfer – it’s a good idea to print two and do a test garment first. Cut out your transfer, leaving a small border and turn your iron to its highest setting (be sure to switch off the steam). Use a low flat surface to iron on your transfer, applying as much pressure as possible, and then gently peel away the paper backing.
- Embroidery
If you’re good with the needle and thread, why not use embroidery to fill in your design instead of fabric paints? It adds a classic and sophisticated edge to your home printed tees.

- Embellishment
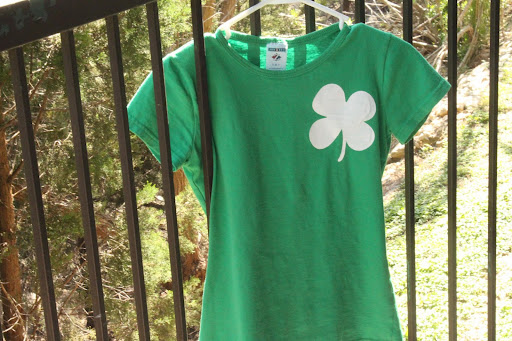
Alternatively, if sewing really isn’t your cup of tea you could add fashionable embellishments to your printed t-shirt. Bring a touch of bling to your Saint Patty’s Day tee with sequins, beads or diamante details – as can be seen in this feminine example.

Author Bio: This post was written by Clickinks.com, an online distributor of printer ink and toner cartridges. Clickinks carries a wide range of products for the top printer brands on the market, such as Canon ink cartridges, like the Canon Selphy CP740, Epson printer ink, or any other brand!


4 comments:
That looks really easy to do. Love it.
Yeah! I made my first shirt using the printer and iron on and it was so easy!
Digital T-Shirt Printing online, with No Minimums and Free 24hr Shipping.
design a t shirt
print on shirts
digital t shirt printing
custom tee shirts
create t shirts
Cheers from Aughnacloy ;)
My website; banner printing
Post a Comment